

My love of drawstring bags is growing over the years. It is great for wrapping gifts, use for traveling, sorting toys, and surprise someone a full bag of goodies at the office door.. so on.. It is really simple to make and I took many photos to show you the details.. Shall we

Any sizes fabric piece in your preference would work! In this tutorial, I used a 1/2 of a fat quarter instead of two separated pieces.
The sewing is called French Seam and this is what I found for the definition of it {{In a French seam, the raw edges of the fabric are fully enclosed for a neat finish. The seam is first sewn with wrong sides together, then the seam allowances are trimmed and pressed. A second seam is sewn with right sides together, enclosing the raw edges of the original seam {wikipedia}}}.

Fold the fabric wrong side together in half { in lengthwise}
Make a 2" mark down from the top
{pencil, b-gone pen works}

{ Set your seam allowance to 1/8"}
-Sew the edge: start from the 2" mark all the way down { repeat on the other side}
{Backstitch the beginning and at the end}

{Both side of the edge would look like above image}

- trim both bottom corners
{less bulky when you flip}

- turn the sewn piece outside in

- adjust the corner

{both corners should look like above image; clean corners}

-press both side seams and corners with iron
-set your seam allowance to 1/4"
-sew both edges
{second seam is sewn with right sides together, enclosing the raw edges of the original seam}
{second seam is sewn with right sides together, enclosing the raw edges of the original seam}

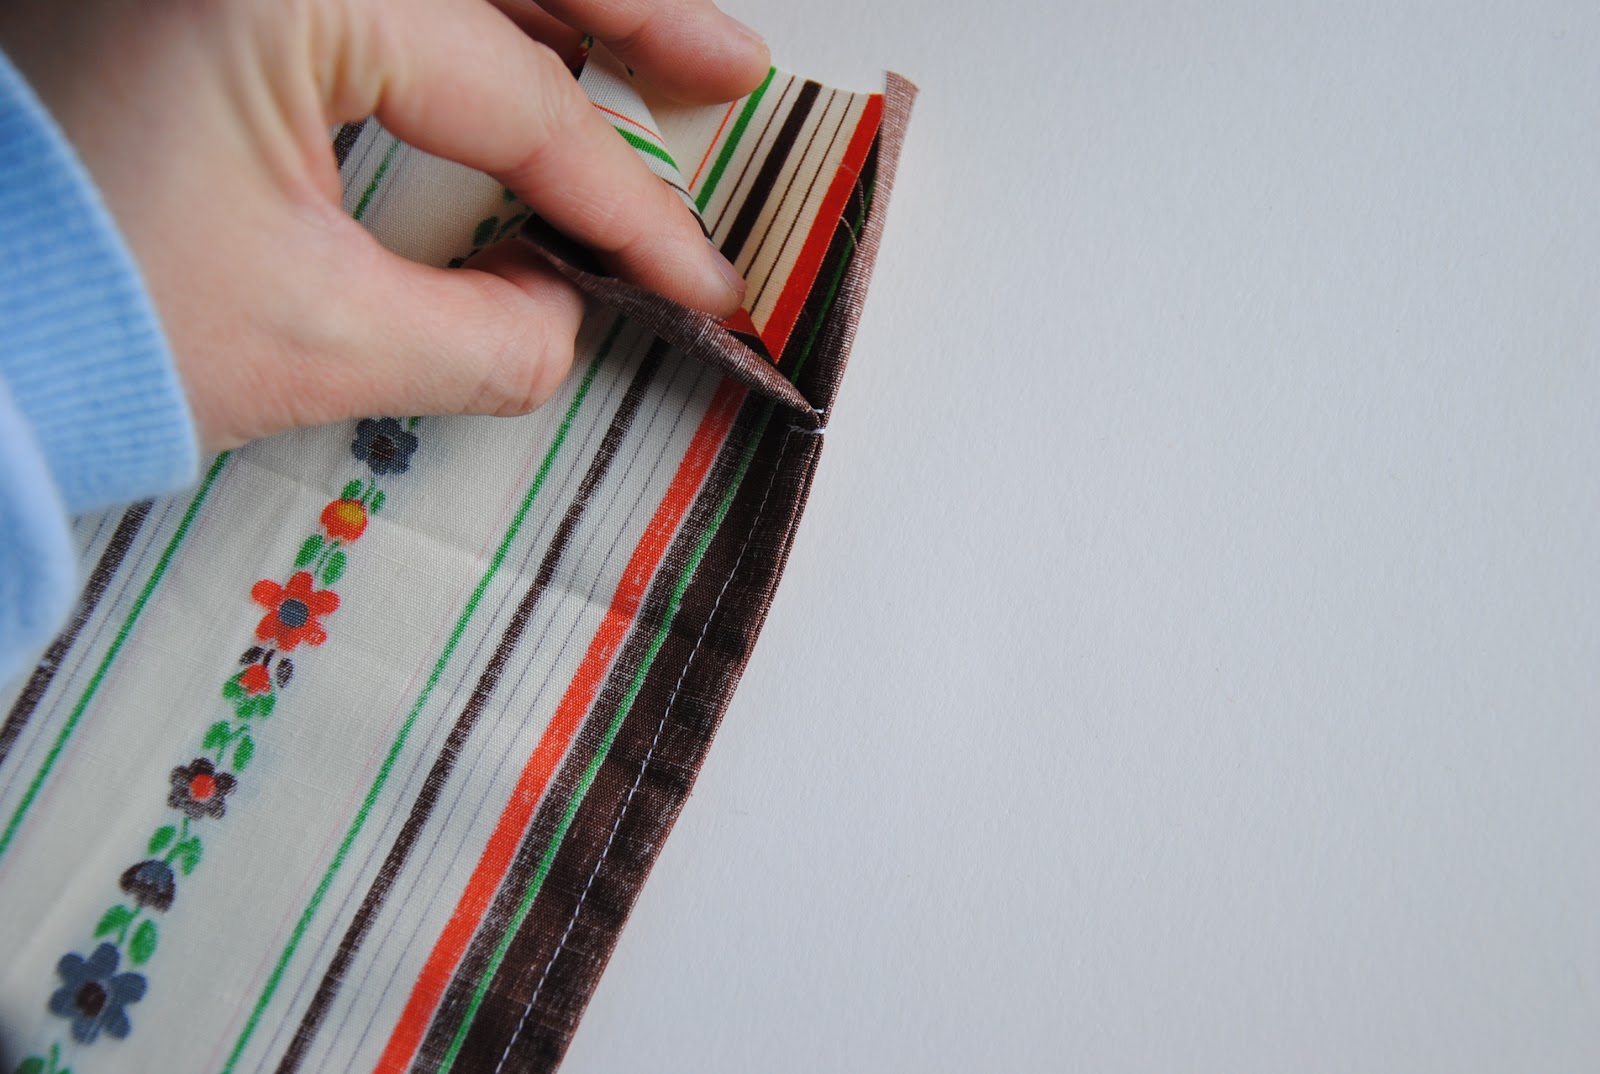
this is how: sew along the edge with 1/4" seam allowance
Stop on the 2" mark you made; move your bag side way and sew/ close the 1/4 seam.

To close the edge, you would make a L sewing

- Finish both 1/4" seam sewing
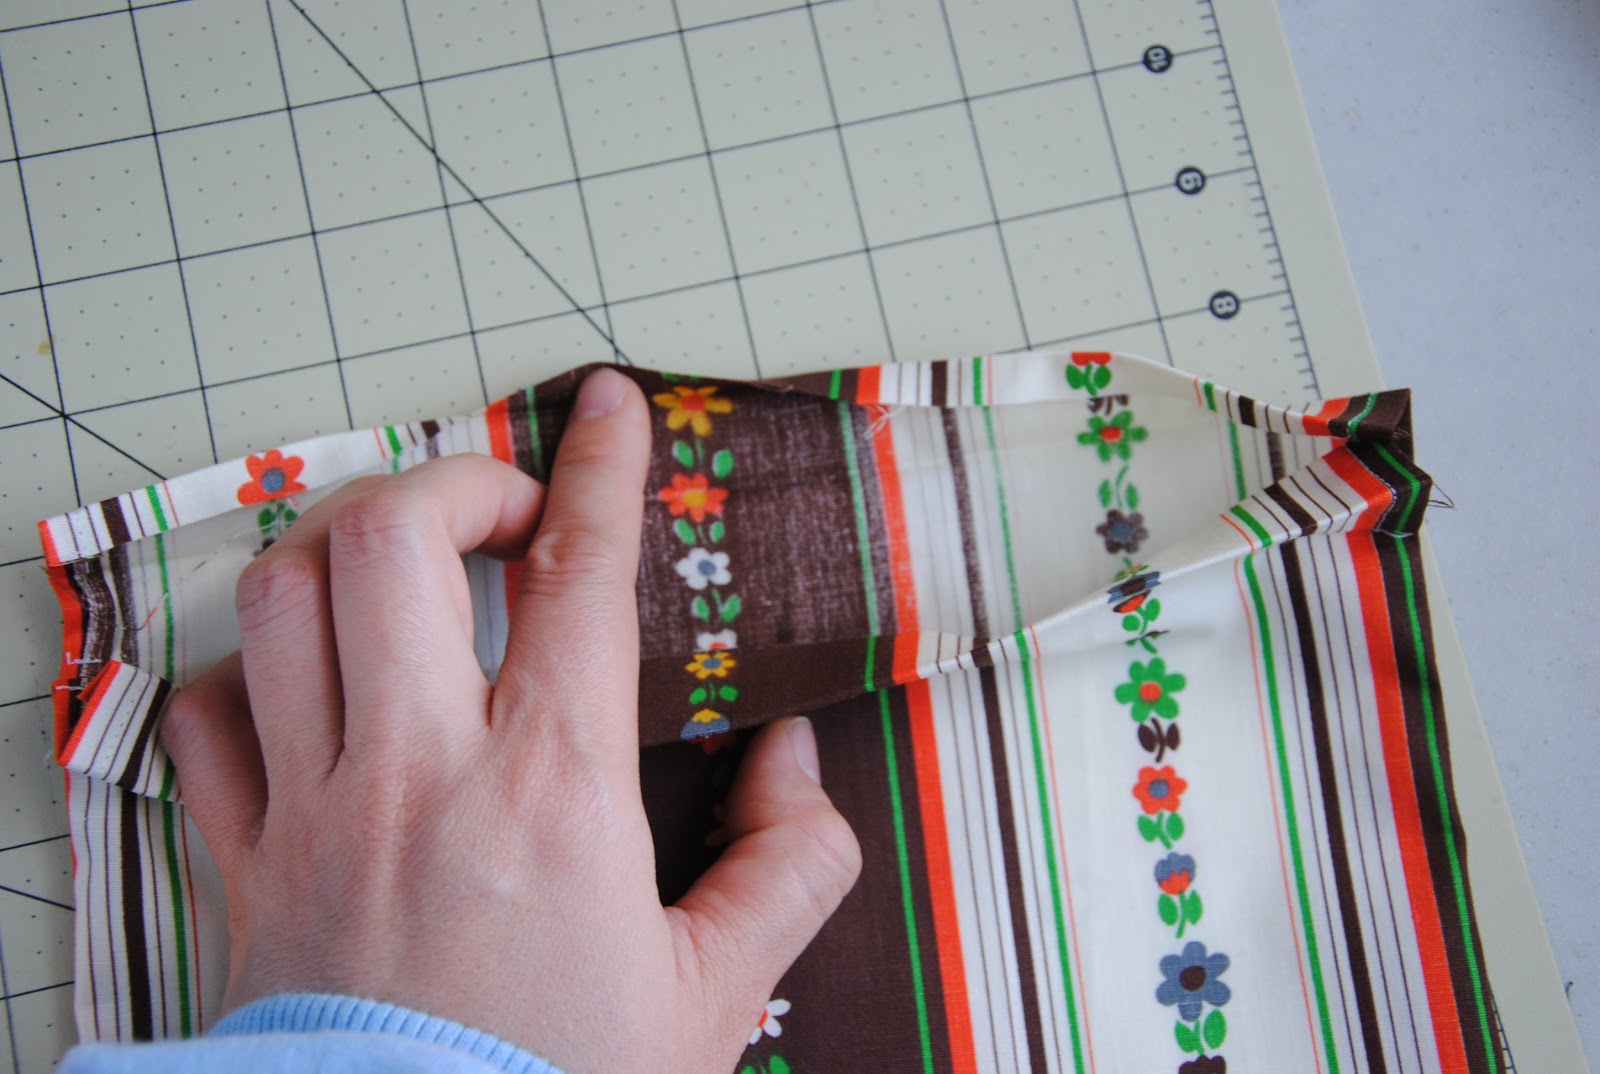
-Flip the bag

-Check your both side of the top edges

Press seams flat on the top edges
{ the first raw edge is 1/8" which is shorter then the second edge fold}
{ the first raw edge is 1/8" which is shorter then the second edge fold}
There are total four sewing action for this

Sew on the first raw inner edge and second inner edge together.
Repeat for 4 times in total

{ When four edges are done, the bag will look like above photo}

{Now creating channels for looping strings}
Open the top
- fold 1/4" first, press with iron
- then fold 3/4" to the edge of top closure, press with iron

- sew on the both edges of the folded piece

{After finish, the bag should look like above photo}
On the both side of the bag, you've just created two channels for loop strings.

{for string}
There are many strings that you can choose from
The left is 100% cotton and the right is 100% cotton, but thicker and fancier.
I found them at our local craft stores.
For the traveling/ sorting toys purpose, I would recommended use thicker strings.

{Measure your string}
needed two same length of strings.
Take your string and fold it in half
needed two same length of strings.
Take your string and fold it in half
Needed 2" longer than the cross width of the bag

Use a pin to loop

- make a loose tie on the pin then loop it through the both side channel you created
Repeat for another side
Repeat for another side

Tie the string ends together

{After loop the strings, the bag will look like above photo}

Now! you have a {french seam style drawstring bag}

xxC
Completely adorable! Thanks for the tutorial and Happy New Year!!
ReplyDeleteThanks for writing this! :)
ReplyDeleteGreat and user friendly tutorial :) Thanks for sharing! Jolana
ReplyDeleteHi, Chase.
ReplyDeleteThanks a lot for sharing the tutorial! I love sewing drawstring bags, but I've never used french seams. I'm going to try it next time.
Andréa
fantastic tutorial, Chase. Thanks!!!
ReplyDeleteA detailed tutorial! Chase, Thanks.
ReplyDelete