

Often time, I get emails and comments on how I instal metal zipper? It is fairly simple and just take extra step to start. Once sewn a few metal zippers. You will have gain lots confident and will go quickLY in the process! I'd loved to share how I instal metal zipper.


- The zipper that I prepared is 8" long, but it comes another half inch on both ends of the zipper, so that makes the zipper actually 9" long.
- For both exterior and interior pieces measurement. I always plan on the 9" long that matches the length of the zipper.

- If you are more experiences with instal zipper. This step can be eliminate.

- Repeat for the lining pieces to the zipper .

-Press zipper seams; front {Exterior pieces} and back{ interior pieces}.

- Enlarge the sewing stitch length.

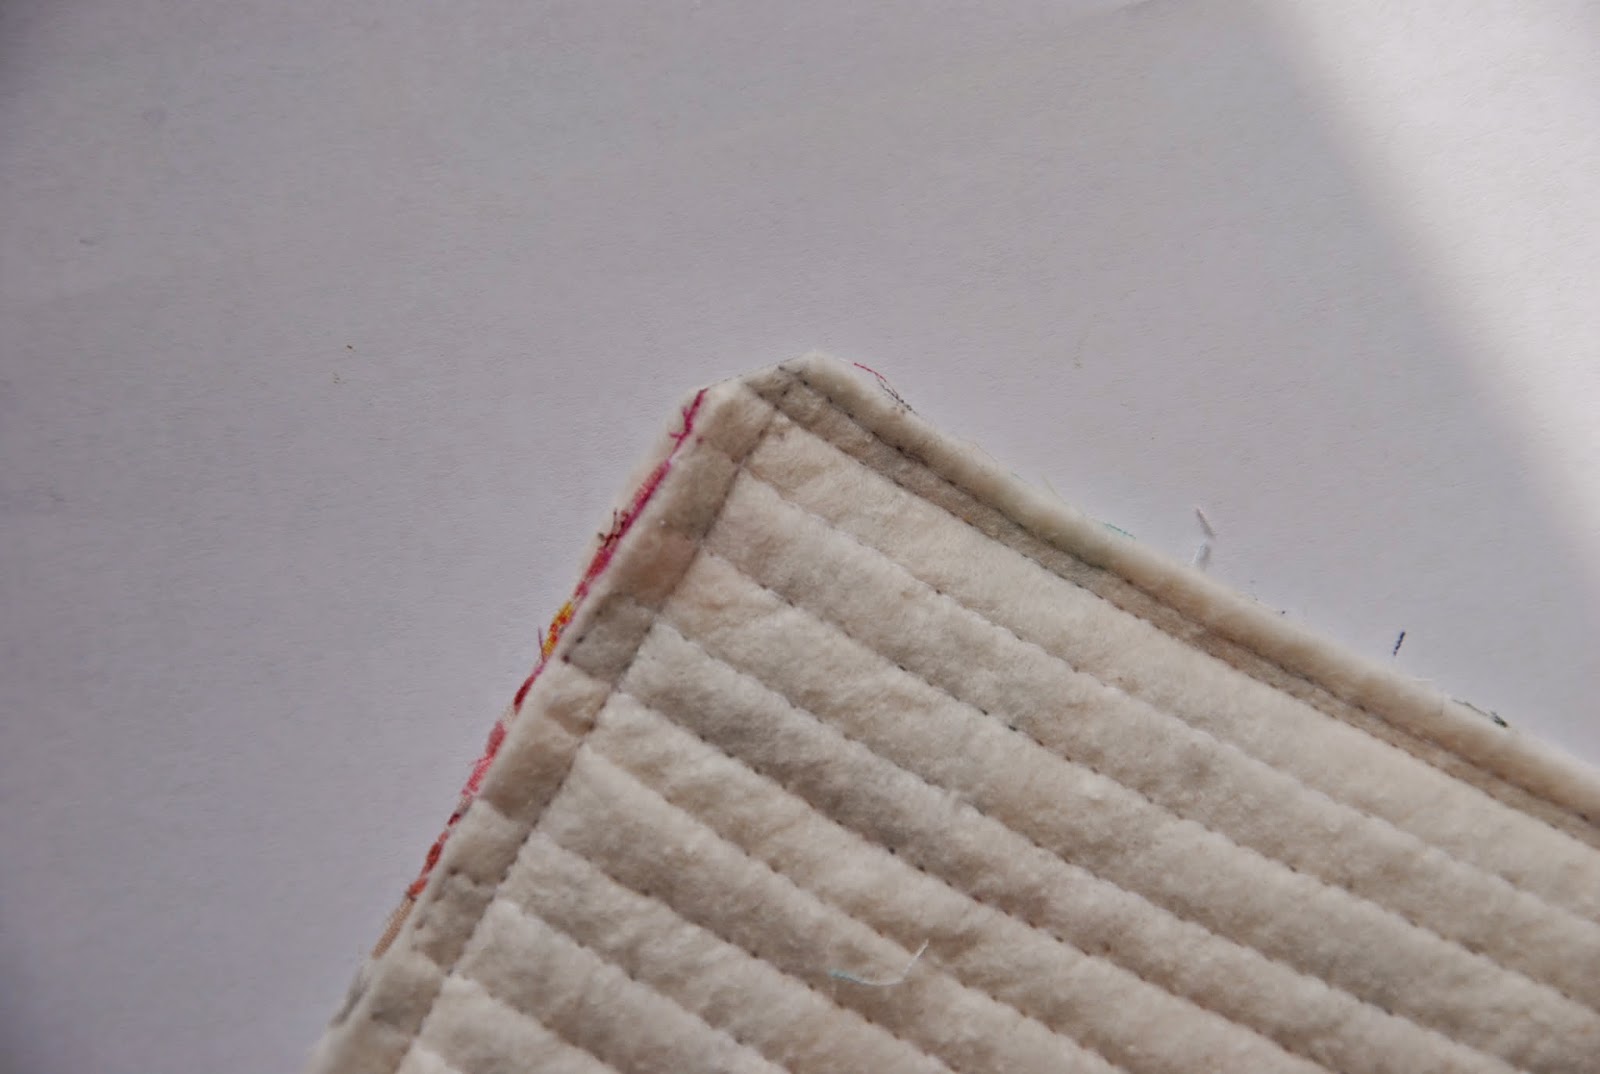
- Check on the top-stitches you made.

-Now, try to unzip the zipper.
-Check it pull up and down smoothly.

-Place the exterior and interior pieces RIGHT side together.

- Line the edges of zipper ends FIRST then pin together. Repeat for the other zipper end.

-Change sewing foot to regular sewing foot and set the 1/4" seam allowance. Start sewing from lining side. Leave a 3" opening on the lining side un-sew. This is the space where you will pull the pieces inside out.
-Sew around the preimeter of the pouch.


Enjoy,
xxc
Thanks so much. I always struggle with this.
ReplyDeleteaaw.. what a cute patchwork ... thank you for the tutorial, :) Have a wonderful weekend, you two..
ReplyDeleteThank you, Chase! Great tutorial - I love the look of metal zippers but have been a little afraid to use them. Now, I'll give it a try!
ReplyDeleteThank you for the lovely tutorial, Chase! You gave some tips that I didn't know about before. The pouch is beautiful!
ReplyDeleteThank you sooo much Chase!! I was so excited to see that you had done this since I had just asked about it. I really appreciate the time you put into making this for us!!
ReplyDeleteIt is gorgeous!
ReplyDeleteVery good tutorial!
ReplyDeleteGreat tutorial! I need to find my zipper foot asap!
ReplyDeleteWhere do you get your cute zippers?
ReplyDeleteThank you for sharing this tutorial! It seems like something even a beginner could try (aka me!). I looks like I have a fun project for my next day off.
ReplyDelete