Welcome to my stop for FW 1930 QAL #73 Mrs. Taft. This block is quiet simple and straightforward. I followed the numbering for the paper piecing part.
Trim the Paper piecing piece. I used highlighter to distinguish the prints for the sections. The post on how I add seam allowances for precut prints {here}.
Precut all fabric pieces and it helps to make the piecing time quicker.
For larger section fabric, I used fabric glue stick to stable the fabric on paper.
I only dot the glue stick on the paper not allover the section.
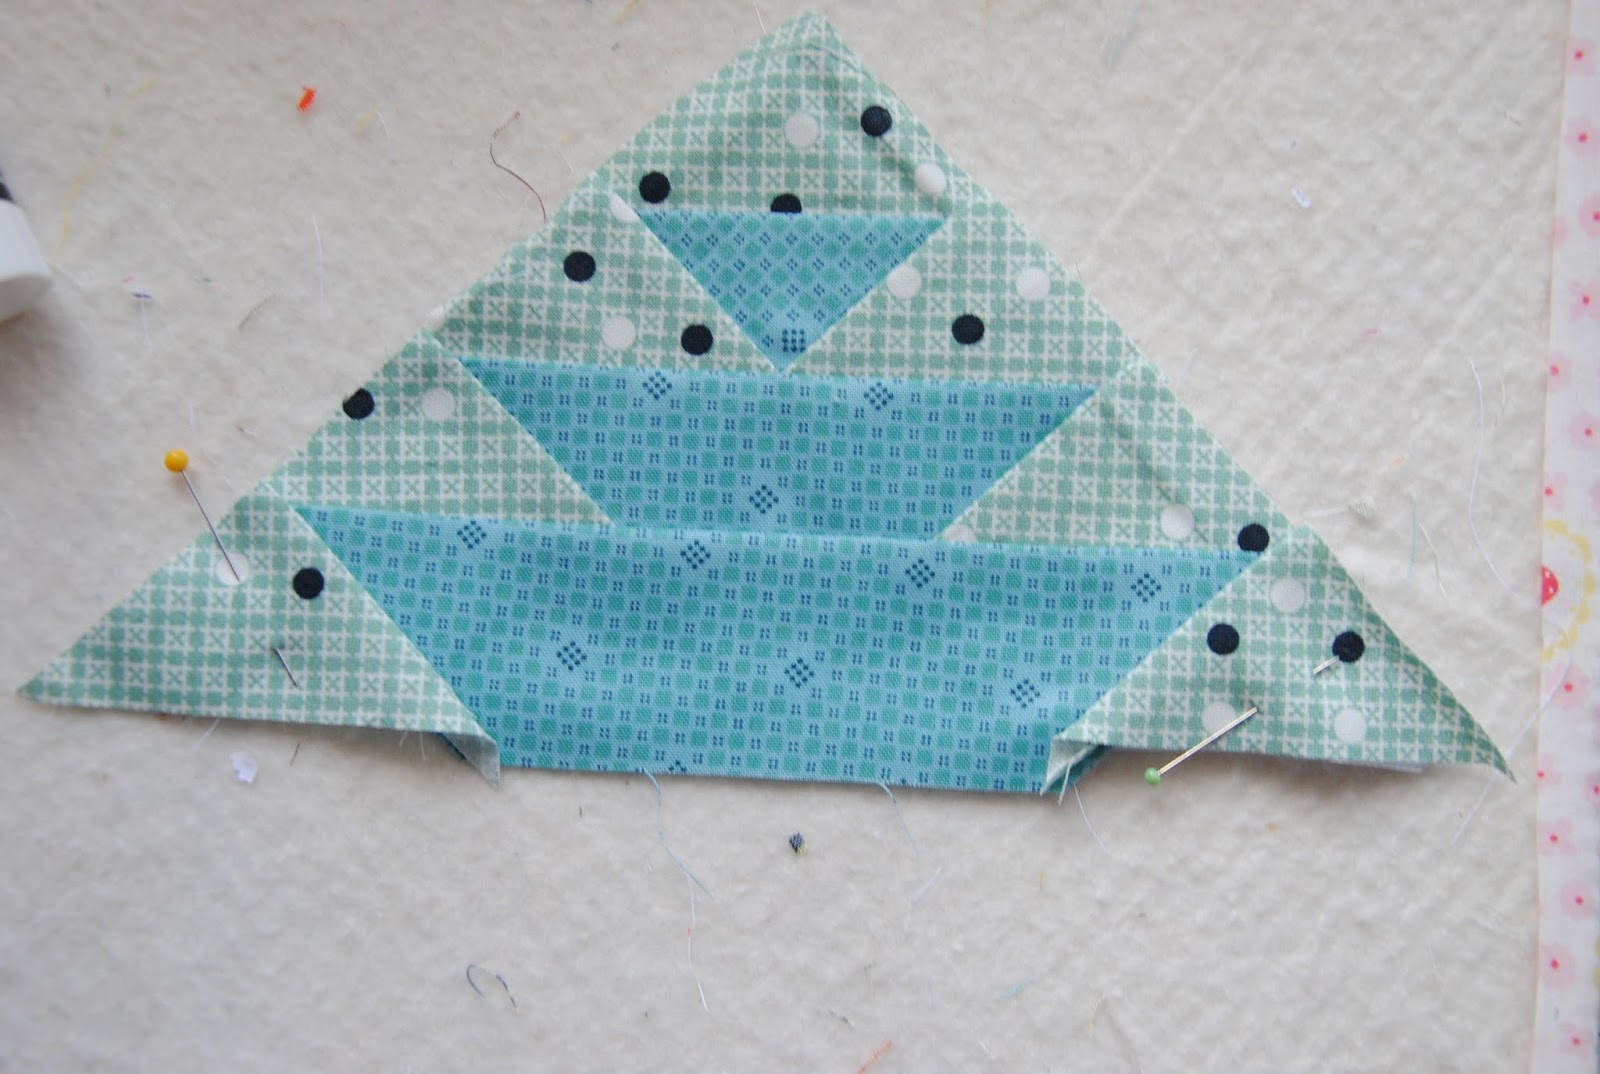
Pin works as well
For section A8 and B8, these fabric pieces are larger I make few more dots across the fabric piece
You could see the dots where held the fabric down
The first finished triangle section
Turn the triangle section, trim around the paper piece.
Flip the paper piece up then draw 1/4" allowance marking; repeat for the other side of big triangle section
Bring two triangle sections together. I like to pin the starting and ending points together first then work my way to the center. Match the seam allowance lines together.
This is how it looks. I like to mention on the both end of the points. You could see the pin is pinned slight in an angle. I found the stab the pin down to both side of the points then follow the drawing line down on the other side of triangle gives more accurate sewing.
Follow the seam allowance then gently press the center seam allowance open!
If you are looking for more information on the quilt along, please check into Kerry's Blog
{verykerryberry}
xxc


Beautiful Chase! I think we share the same techniques!
ReplyDeleteThank you, Kerry for hosting this quilt along! I have truly enjoy every post you wrote and learned so much tips from you. I love this sharing techniques and finding that we used same one! I wish to find a fine size glue stick. I think it might help and reduce the amount of the glue stays on the paper and fabric.
DeleteThank you for this! I always have so much to learn and this is very helpful!💟
ReplyDeleteThank you, Kim!! I am hoping the steps are clear and helpful!! :)
DeleteI love this and your tutorials are just THE best.
ReplyDelete