Sunday, September 14, 2014

Weekending


It is not a secrete that we love the season of Fall! We've added extra quilts to each room two nights ago and thought we might still need comforters as the season will eventually enter winter. Each Fall, I seem spend more time in the kitchen then I would in the other seasons. Likely I make chicken broth from the scratch in the Fall before the winter arrives.

Whenever I fix root vegetables I always wash them nicely before peeling skins off, then I saved all the veggie skins or save veggies that's almost too old for salad; celery in particular since S is not a celery fan.  I would throw all the " unwanted" veggies in a big zippered bag and store in the freezer. When I see the bag is almost full I would  buy a fresh whole chicken for us and for the purpose of making chicken broth.

This is how I fix the chicken; Preheat oven at 450 degrees, meanwhile seasoning the chicken with black pepper and salt only { If you like extra flavoring you can add some butter on the chicken, two tablespoons is plenty}!  I always add a little white wine ( about 1/3 cup) in the baking pan and the alcohol eventually will cook off in the oven then put the chicken in the oven for 40 minutes. The chicken always turns out tender and juicy. I always debone the chicken before serving then you know, I save all the bones and throw them in a zippered bag. I would find a day that's cool enough then I cook "unwanted" veggies and debone chicken bones in the pot then start making chicken broth.  All you need is add a bit more salt and pepper. You might be surprised if you try next time!

This is how I cook the broth; I always start with the burner High then wait for the broth to boiling ( about 10 minutes). Once it starts boiling I let it go for another 10 minutes then turn the burner to low for simmering; that's about 40 minutes { I always sets the alarm, so I don't  forget}. After turn the burner off, I let the chicken broth cool off to room tempter. It would take about 2 hours or longer before I drain all the "ingredients" out from the broth.  Then I pour the chicken broth into half gallon jars then put them in the freezer. It sounds like a lot of work, but between time I would be sewing and getting S ready for the night/day. I have been very lucky to have great chicken broth for years and there's no trick for making good broth. I've always being told by my friends use every bit of the ingredients you got!

Oh, before I forget! S says "Hi". She is getting to the age of not wanting herself being in the public, so I am respecting that!  She spends her weekending in her room more now as she likes the private time to herself, drawing, listing to music and sometimes she runs from her room to find me and tells me all the exciting drawing ideas she has then I would drop everything that I was working on and just listen! The conversation doesn't go very long, but all is about fantasy creatures that she made up in her mind, very interesting to hear what they can do.

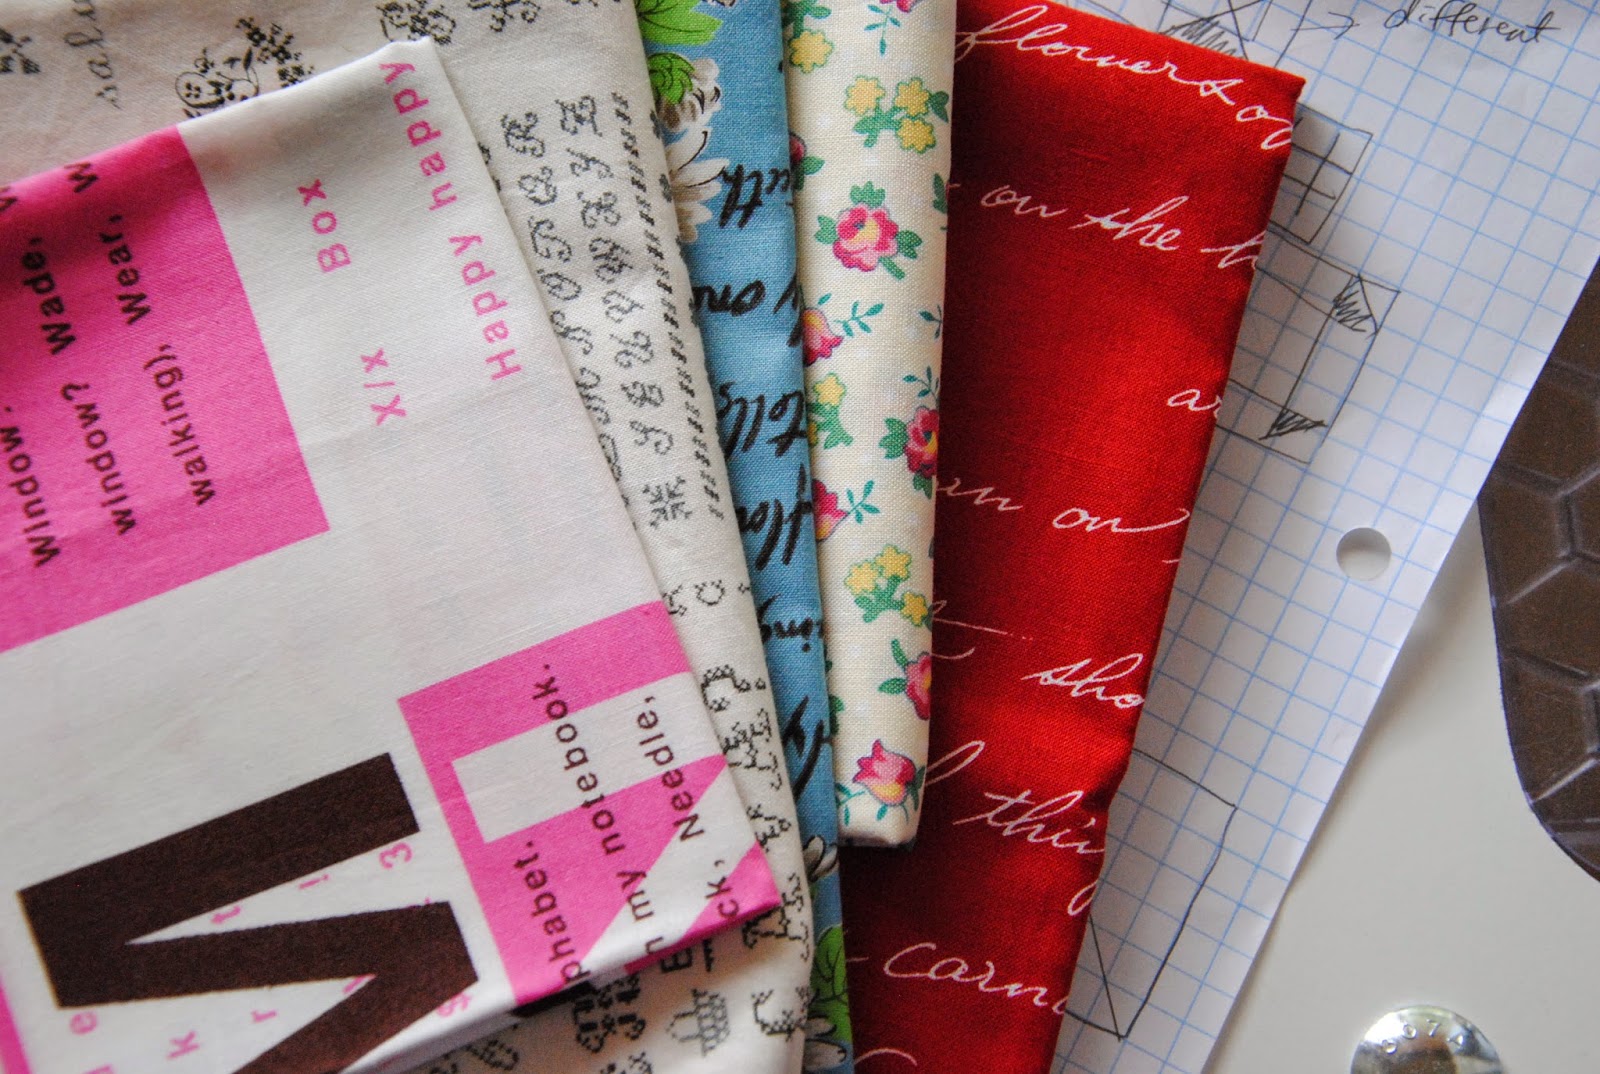
I made another Kin-Cha-Ku {pattern here} this week and shipped it! It is always fun for me to pick out prints for small projects. There are lots prints that I pull out lately have been the kind of prints I tell myself, "Save it for Lifetime". Oh, I must admit it feels nice to actually cut into them lately. It is nice to see how these prints correspond to each other!  I particularly like the sweet and retro color scheme for this kin-cha-ku. It has over 22 prints in it! :)

Lately, I have been seeing myself using more basic color prints. These basic prints give more focus on the blocks that I've been working on. The new attempt has been quiet successful, but I would like to give it a bit more experiments before I share with you!

Nothing special about the "design wall" that I created! I hook a cotton string on two fine metal nails. Since there's no wall space for me to add a nice design board.  This simple design space works out well for now.  It is nice to see the unfinished projects on the wall and that reminds me they still need a bit more attention!

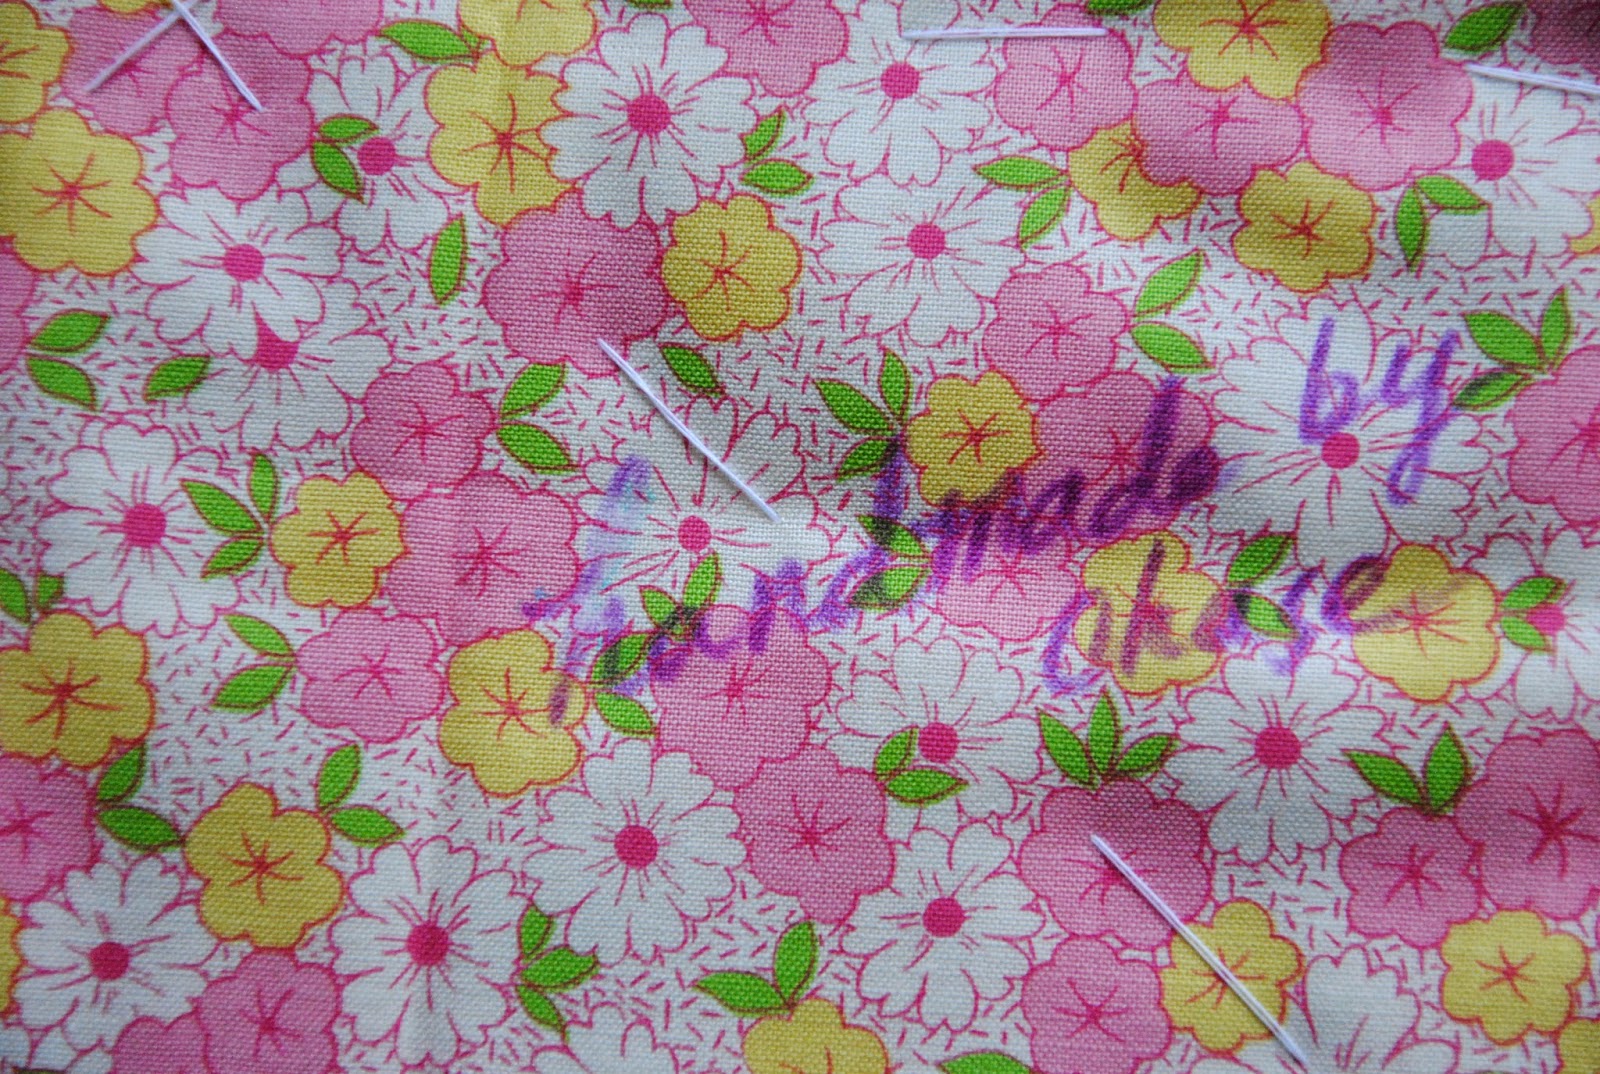
With a little more sorting through our moving boxes, I found my name tag that made by S two years ago. It makes me smile to find little drawings she tucked in my sewing space over the years. I always appreciate them and for sure seeing the change that she is making over the years.

We are looking forward next weekending already! As we are going to make another pie, I think it is going be a Berry Pie!

xxc

Friday, September 12, 2014

A Berry Mini Quilt


This berry mini quilt has been shipped this morning and hope it will arrive to the receiver's mail box soon! It truly turns out to be a lovely mini quilt.  I intended to used berry prints and mixed with contrast value prints for this mini quilt. Each squares are cut in 1.5"x1.5", so it finished at 3.5"x3.5" for each nine-patch block. For the stashing fabric, I chose {Holly Holderman's Recipe for success white on white}. I love how it shows when the sun comes in the room.

For the binding, I went with the Gypsy girl by Lily Ashbury for Moda. There's no indication of the year that's made for this print, but you can find at {Superbuzzy}. I got all the color ways. The fabric is nice quilting weight and perfect for bias binding or any patchwork making. The mini quilt is {hand-quilted} and hand bound. The backing fabric is from Anna Griffin for Windham {It has been a few years, since I have it} and I hand written {quilt label} that included receiver's name, the year made and made by whom.

The other day, my IG friend has asked me why I keep my quilting label so little contrast from the background fabric and she asked me for the thought on that. My thought to that was making the label a settle look and leave label design as part of the background piece. I didn't want the label take over the quilt itself and it is nice to discover the gentle touch that have been made to the backing of the quilt. Now, I sign the quilt label {handmade by chase}. It is rather simple, no last name, no blog name, no location indicated.

Enjoy,

xxc


Thursday, September 11, 2014

Mini PatchworkQuilts/ Coasters!


A few weeks ago,  I started working in the studio alone while S gone to school. I always have pandora station on, so there is a background music and I still love the commercial time announcements from North Dakota! Indeed, after three years living there, we have dearly missed that north part of land in this county. Something still is special about the state and the city we lived! Maybe the fulfilled lifestyle and the small cozy home that we created!

So, when I mean, I want to make everything. I really mean things that I have been procrastinating over the years. While I was in graduate school, one of my research study was color effect and the simultaneously changes in colors by using textile materials. At the time, I brought three different color scheme bundles of Kona fabric. I have had enjoyed the research and "play" too hard with them for almost a semester! Then one day, my processor from the committee asked me, if I'd write an essay about the research project! I stepped back and have my eyes wild open and looked at her. I replied, probably NOT a long essay, but I'd love to make more pieces and give a presentation then that proposal didn't go through! After completed the research study along with a three pages long short essay, these fabrics have been set in the box.

Lately, I started to work with solid fabric colors again! The simple pleasure of the colors effect have give more depths in the pieces. Perhaps the simplicity of using solid color fabric squares have changed the usual patchwork style that I've working! The dynamic change in selection of fabric has really give some fresh new look and new approach! For the quilting, I used straight line quilting to give clean finish. These mini patchwork quilts/Coasters finished at 6.5"x6.5".

I say, the approach of these patchwork is alike mini quilts when I made them, but also can be utilized as patchwork style coasters. These mini patchwork quilts have been quilted in 100% cotton batting with solid color in the back and hand bounded! I made 4 sets of mini patchwork quilt/ coasters have been listed in my {Etsy shop}.

Enjoy,
xxc


Tuesday, September 9, 2014

Quilting Stars


The finger tips are asking for a little break from the pointy needles! This mini quilt isn't going to be very mini! It will finished at 18.5"x18.5". Would be one of large mini quilt that I've made so far! I like how the quilting pattern for this mini quilt. It reminds me stars in the summer night time.  The repetitive line pattern around each wonky star shows different personality for sure!

I used the Mark B-Gone pen drew the hand-quilting lines, since there are points need to be match. I also made a quilting label in the back, which you can find in {here}. It will take another few days to finish up! There will be a trip to the craft store soon, since I just started the last spool of hand-quilting thread this morning.  If you are looking for how to hand-quilting check on {about hand-quilting} tutorial.

The daylight starts getting shorter each day! The natural lighting in the studio has been soft and the open window makes it a nice space to work around! Best thing so far, getting more cross off lines on the to-do list; wrapping up gifts, packing orders, replying emails, writing cards to family, and feeling energetic again!

xxc


Saturday, September 6, 2014

mini patchwork quilt label


Do you label your quilts? Do you like making that extra touch close to the end of the process? Did you know all the quilts I made for years to come, I've only labeled five quilts and one mini quilt!  And you know what? I can't really remember the rest of the quilts, when and where I made them. I had to go back to the old blog posts or flickr to find time frames! Oh, then you know I made the mind that from now on, all the quilts:mini or huge will get a label, so there's a bit of who made it and when made it!

For this quilt label: I used the disappearing ink and free hand writing the receiver's name and my name. For the date, there is just the month and the year; adding flowers pattern around it bring extra textures in the backing, since it is a busy print already.  I am quiet pleased with this free style label and it surely leaves additional personal touch to the quilt!

blog note:
Really, {Thank you} for your sweet comments on the new blog look! It still needs some more work done. I need to find the html coding link again,since I didn't save it from two nights ago when I was reading it. All the top tabs are working now and I will need to write up {about} page soon. I like how clean the blog looks now, but there is always improvements that need to make still!

xxc


Thursday, September 4, 2014

Will be a mini quilt


Oh, indeed! I changed the plan a, b, c, and even d! These wonky star blocks are assembled in to a mini quilt this afternoon! The quilting pattern will be a bit different for this one! Maybe a bit fancier compared to the ones that I have made before!

{Thank You} for the sweet comments on the blog header! I need to share more, a full blog post seems more appropriate! I've been learning html codes during the late nights and working on a small blog makeover! In case, you click on any top tabs today. The only one works is the {shop} tab and the rest is still in process. I love to share how I get that with you! It took me forever to find it, but actually it is simple and easy! Just need few CSS coding as well!

More soon!

xxc

Wednesday, September 3, 2014

that quilt!


This morning the back of quilt seams are pressed open and gently pressed in the quilt top again. It seems like a long process to completed the quilt top! Actually there were few pauses that I made throughout the months. It only took 3 weeks to decided on the quilt layout. I went with a simple and fun layout! This quilt probably isn't going to catch S' love in first sight, but hope after few more touches in the back, she will love it! I even have the backing fabric pick out! It is a smaller quilt compared to the quilts that I've made for her in the past.  Knowing her just loves the kind of quilts that she can drag around the house and shares a corner of the quilt with me. This is going to be a great size quilt for her, and me!

More to come!

xxc