Showing posts with label Scraps fabric. Show all posts

Thursday, March 3, 2016

Scraps Player Quilt + a quilt along!


{finished 68"x66"}

It was last night, I made last stitched on the binding! S walked to me, and said, You finished the quilt ALREADY! oh, I was very fulfilled and proud of myself! It feels kinda silly for this whole making a quilt in a week and you need to know that this is not planned quilt! It just click on me like I must have that fabric!!

The love of this quilt is growing on me over last few days! It is not perfect, you know! You could see the edges of the quilt is not perfectly squared and the stripes is not perfectly straight. Honestly, all I was thinking was making this quilt!  My arms are so sore this morning by all the free-motion quilting. This time, I tried many new patterns on the quilt. It took a good 6 hours to quilt on a lap size quilt. It is also heavy as there are so many stitch lines all over the quilt.

Do you think it looks like a bit of pixelated image from a distance? It is really interested to see that I do use a lot of red when I sew, and lots of whites and blues! I am not surprised with all blue and whites, but reds? {laugh}

For the backing, I digged into some of really old prints from the 2010 and 2011. I found interestingly that fabric made that time has slightly wax in them, it feels like a little waxy! I went ahead and use them! So, my trip to the local fabric store was so not necessary this Tuesday, since I came home with few spool of threads only.

For the binding, it was purchased from an IG destash! It was in my to-go basket, but then I went back bring it back and though it is perfect for this quilt! I  heart and love how Rita at {Red Pepper Quilt} using black and white strips for her signature quilt bindings.

Alright, I need to jump right in this quilt along here! First, I like to give a big shut to Bonnie whom reminded me of the {pack patch quilt along} that she enjoyed a few years back and as I was working on this quilt I though I need not to procrastinated too much about everything and just have some fun to host another sewing along!

So, I am hosting a new sew along called {Scraps Player Quilt Along}. However, I have set this quilt along to a private group over Flickr. This quilt along is only going to take 15 days and by the end of the 15th day, you shall have a quilt quilted and bounded!

The goal for this quilt along is lighten or even empty out the scrap bins that have sitting around too long and being ignored!  I often think that I will come back to them, but likely the scraps start building up and overwhelm around the studio space!

Again, this quilt along is going to take 15 days! I found a long-term quilt along wears some of the interest out quick. So, if you up for making a quilt in 15 days challenge, you could send me your email or Flickr ID, so I will send you an invitation on this quilt along.

Here are the rules that you need to agreed before you sign up this quilt along:

- Committed finish Scraps Player Quilt in 15 days
- Using only scraps only
- No commercial products selling in this group
- Be encouraging each other
- Meet new friends, if you like to do a swap please set it as a private swap.
  We'll not hosting a group swap.
- Have fun! Tons for fun!
- Be spontaneous about this quilt along!

If you are up for challenge and love to join this quilt along, please leave me your email or Flickr Id in the comment form, only. The comment form is open till March 4th, 10 a.m central time. We will kick off the quilt along on March 5th.  and finish on March 20th. It will went by pretty quick and I suspect some of you might finish in a week term.

Alright! See you over at {Scraps Player Quilt along}

xxc


Thursday, September 18, 2014

It continues to grow!


I bring {Quilting Stars mini} with me whenever I wait for S in the music lessons. It is going a little slower than I like.  The quilting spacing around the star is 1/4" apart and I do love how it is turning out so far! I plan on clean the Be-Gone Pen marking after finish the four stars, then mark straight lines {about 1/2"} for the space between each star.   The binding fabric has already been pick out and the wall space for this mini is ready for her! It will take few more music lessons for sure!

Tomorrow, I have a simple {{how to install metal zipper tutorial}} for you! There are few photos editing to follow up, so I could be clear as I share with you how I install metal zipper!

xxc


Tuesday, September 17, 2013

Tutorial: the triangle pouch


 {S' triangle zippered pouch} is really sweet and I didn't wait too long to make another one for myself. My sister is next in line then a few more for Christmas gifts. This year, I plan not to wait to long to start the lists of sewing. Have you started your handmade gifts? Maybe this tutorial will make it into your list this year~  This is another long post! over 70 photos and again, please let me know if you need more clarification on any step.  This is another great scrap project, so pull your scraps out and play hard~

1. cut 20 a sorted of 2.5"x2.5" fabric
Material:
Cut 20  -2.5"x2.5" 
Cut 1 - 3.5"X10.5" { exterior base piece}
Cut 1 - 11.5"x10.5" { pouch lining}
 Cut 2- 3.5"x3" { exterior sides fabric}
Cut 2 - 3.75"x3.75" { interior sides fabric}
Cut 4 strips of bias tape for binding 
10" zipper
Batting scrap
between needles for hand-quilting
quilting thread
sewing cotton thread 
needle for hand binding 

Set your seam allowance to 1/4" unless noted

 2. sew 5 pieces of 2.5"x2.5" in a row

 3. Need total of 4 rows

 4. Join 2 rows together and need two sets of patchwork pieces.

 5. Cut 1 piece of 3.5"x10.5" for the exterior base piece

 6. Join two sets of the patchwork piece to each side of the exterior base piece.

 7. The back of the patchwork looks like above image; please flip the seam allowance, that would avoid the bulkiness.

 8. Use warm iron then gentle press

 9. Open the seam in the back and gentle press each seam

 10. prepare for hand-quilting; basted onto cotton batting

 11. Either hand-quilting or machine quilting will work on this part. This would be your preference. For hand- quilting, please check { tutorial here}.

 12. Baste around the perimeter of the finished quilted patchwork piece.

 13. Trim off the excess batting; After trimming off the excess batting, remeasure your finished quilted patchwork piece. During the quilting process, it might get 1/8" or 1/4" smaller than planned

 14. Cut 1 piece of 11.5"x10.5" for patchwork interior lining

 15. Set your quilted patchwork piece right side together with the lining piece; pin the top of patchwork piece and the lining together on both ends.

 16.  Set your machine 1/4" then top stitch the both patchwork top ends

 17. Flip the sewn piece inside out;  both sides need to leave un-sew

 18. when flip the joined pieces inside out. The patchwork would look like above photo

 19. Use warm iron gentle press down both end seams;  then pin the patchwork and lining piece together.

 20. Set 1/8" seam allowance; top stitch both top ends { These are where the zipper will insert}. It will help later process to avoid any bulky seams, so don't skip this step.  After top stitch both ends, set this patch work piece aside.

 21.  Cut 2 pieces of 3.5"x3" { Exterior sides fabric}

 21. Mark a 1/4" point on the 3" width side of the fabric; apply both top edges}

 21. Set rule in from the bottom edge point across the the 1/4" mark; use rotary cutter trim off the piece; apply to another piece as well.

 22. For both edges trimming. This is what the piece would look like; apply to the other piece as well.

 23. Set both pieces onto a scrap batting; baste on the batting

 24. Prepare for hand-quilting; machine quilting also work. For hand-quilting tutorial, please check
{tutorial here}

 25. Baste around the perimeter of the both side pieces.

 25. Trim off excess batting

26. Cut 2 pieces of 3.75"x3.75" for interior sides lining

27. Set the lining piece and quilted side pieces Right side together.  Sew the top together then flip the lining to the back. Warm iron gentle press on the top seam then used 1/4" seam allowance top stitch the top edge. Baste the bottom edge with 1/8" seam allowance.

28. Bring quilted exterior patchwork out. Set the interior lining side on top. Take one side patchwork piece then set on the center base then pin. Set 1/8" seam allowance on the machine.  Sew 1/4" away from the start sewing then ended before 1/4".

29. Check on the top image where leave 1/4" space.

30. Two pieces attached. 

31. Bring the side patchwork piece to the other side of the exterior patchwork. Gentle pin two pieces together, then sew with 1/8" seam.

32. Then the next side of the side piece also pin onto the exterior then sew with 1/8"

33. The joined side pouch would look like above photo.

34. Apply Step 28-32 to the other side of the side exterior piece.

35. Now your pouch would look like a box from the above image.

36. Bias binding  is a narrow strip of fabric, cut on the bias which is being cut at 45 degree to the length of strip, makes it strtchier as well as more fluid and flexible compare to a strip that is cut on the grain. I highly recommend use bias binding for any purse making, pouches making or tote making.

## Need for 4 strips of bias binding; 2 of the tape least 14 inches long and the other two need at least 10 inches long.

For  narrow bias tape: cut 1.25" wide
For wider bias tape: cut 1.5" wide
You can decided what you prefer. This will not make any differences to the pouch, just the look of how the pouch would turn out. {Check on the 1.5" bias tape cut I make for S}


37. Take the bias tape then channel through the bias maker then gentle press with warm iron

38. What if I don't have a bias maker? No problem!! What you can do is set your iron in lower heat then fold the bias tape in half gentle press that would give you a nice center line. Take one side of the edge fold towards to the center line the press; apply the other side as well.

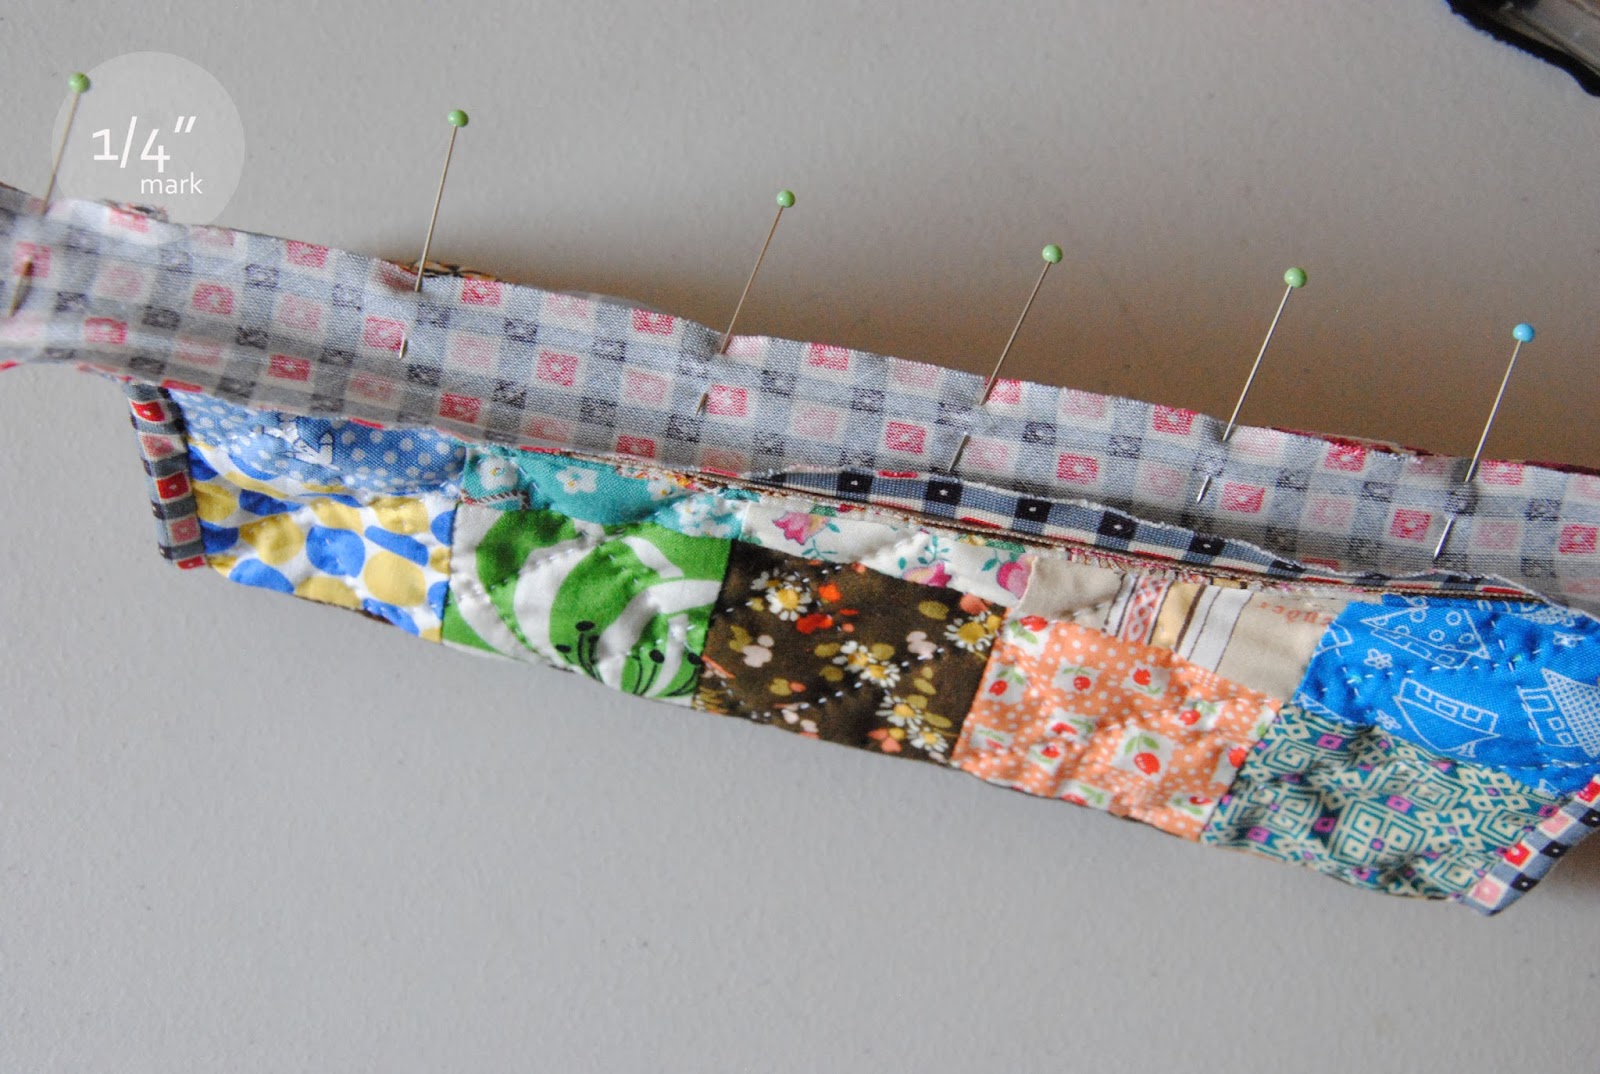
39. Look at the bias tape that just iron. There should have three lines that's being  pressed. Take the shorter bias tape pin around the side of the pouch. Sew on the pressed line that you iron that's closed to the pouch edge. Sew all the way up on both top edge.

40. After sewing the bias tape the side pouch would look like above image.

41. Hand sewn the bias tape, just how you would sew for a quilt.

42. Check the top of the edge; it needs fully sewn

43. Trim off the excess binding tape make sure it levels with the top of exterior patchwork. Apply to the other end as well.

44. Prepare a 10" long zipper; either metal or plastic works.

45.  pin the zipper on one side of the pouch top.

46.  The zipper head is prefer level with the end of the pouch binding. Or may adjust how you like


47. Hand baste the zipper to the pouch is better for any zipper install if you are new with sewing zippers. For this pouch, I hand basted the zipper to stabilized the zipper's position on the pouch. It only take a minute or two  to do so, so if you can I recommend it!  The baste stitch can be big and it will be easy to take off later after sewn the zipper.


48. Change the sewing foot to zipper foot. Set the seam allowance to 1/8".


49. 1/8" seam allowance allows the zipper attach to the pouch finely at the edge. Apply the same zipper sewing to the other side of the zipper.

50. Now the zipper is finished installing.

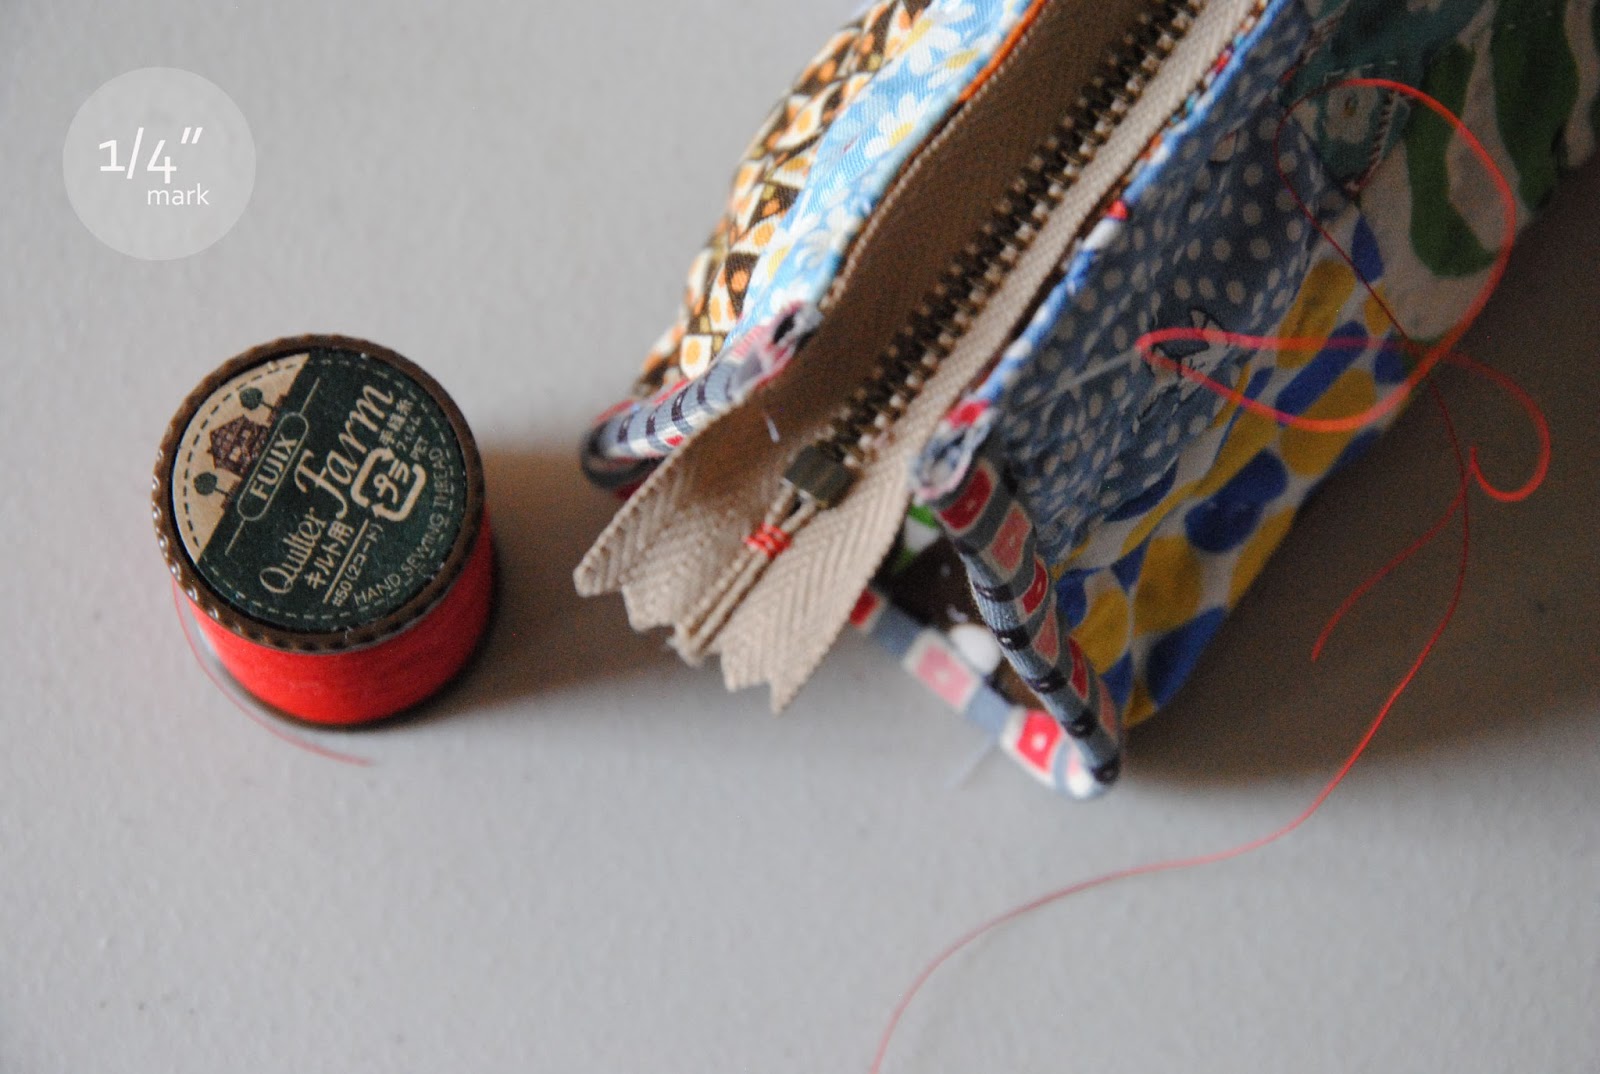
51. Look for red tread or threat that's different from the white thread. I used hand-quilting thread for this purpose, which gives a nice wax coat outside the tread. Single treading is great !

52. When finish install zipper, will find both edge of the zipper fabric wide open. Use the tread and gentle give a few stitch to bring two zipper fabric together. This would help later tabs installation.

 
53. Apply to the other side with closing zipper fabric. 

 
54. Take one long bias tape attach to the top zipper side. Apply sewing bias tape from Step 39. Sew the bias tape on the entire zipper. Apply to the other side of zipper.
 
55. Take close look on the top of the pouch. There are two sewing lines; one is the zipper install sewing line and one is bias tape ling. Make sure the bias tape covers the zipper sewing line. 

 56. Hand sewn the binding on both side of bias binding just how you would finish a quilt binding. Remember all the way to the end of the zipper.


57.Trim off the excess binding fabric


 58.  When trim off the excess bias tape, remember level the end of the zipper { You would want to cover the whole zipper with biding tape}.


59. close look; set the pouch aside


60. Cut two pieces of 1.5"x1.5"; These are for the zipper end tabs. {{ Note: For the side end tabs, please first measure finished zippered with binding and check width of the finishing size. If you prefer a longer zipper tab. You may cut the pieces larger in your preference; really no rules here}}.

61.  gentle press both sides with warm iron


66. Apply the iron piece on the top side of the zippered pouch. Line the edges together!

67. Turn the pouch upside down. This would give you clear look at how much actually zipper to sew. Slowly top stitch the tab and zipper together, pin.

68.  Use 1/4" seam allowance for both tab sewing

69. Set the pouch up. I purposely left the hand sewn red thread out to make it a bit zakka look

70. Finishing the tab sewing. Gentle fold the end of the raw edge of the tab 1/4" for a nice closer.

71. Held it with hand then start hand sewing from the top corner edge of the tabs. Use pin to held the fabric if it works better.

72. hand sewing around the tabs or machine sewing also apply. I leave some white thread on the sides for the handmade reason.

73... Awweee... what a long post ... when the zipper closed the side would force to bring it together then would turn into an triangle shape.

74. The zipper pull is super sweet and if you don't mind I have them in {#254 sewing shop}

75. I love all the zippered pouch I made and I can't tell you how many I have made and given away...  Loving this triangle zippered pouch that keeps all the sewing tools together. We took the storage boxes out from the table. More room to sew and work!

76. I am very pleased how this tutorial turns out and thank to S who needed a triangle pouch and allow me to work on each detail. Are you ready to make one? If you do, I'd love to see your version and please join me at { made with 1/4" mark flickr}. I have seen some really cute {mini ipad pouch} lately..


Hope you enjoy this tutorial as much as I write it.

xxc